Old, cracked, or peeling caulk is more than just an eyesore—it can compromise the integrity of your home’s seals and lead to issues like water damage, drafts, or mold growth. Caulk is used to seal joints and seams around windows, doors, bathtubs, sinks, and other fixtures, and over time, it can break down and lose its effectiveness. Removing old caulk is a necessary first step before applying a fresh seal, ensuring that the new caulk adheres properly and lasts longer.
In this comprehensive guide, we’ll walk you through everything you need to know about removing old caulk, including why it’s important, the tools and materials required, and a detailed step-by-step process to help you get the job done efficiently.
Why Remove Old Caulk?
Before diving into the how-to section, it’s essential to understand why removing old caulk is important. Simply applying new caulk over the old material may seem like a quick fix, but it’s not a long-lasting solution.
1. Prevent Water Damage
Caulk plays a critical role in keeping water out of areas where it doesn’t belong, like the seams around bathtubs, sinks, and windows. Old, cracked caulk allows water to seep into these seams, leading to potential water damage, rot, and mold growth. Removing it ensures a watertight seal when you apply fresh caulk.
2. Improve Appearance
Cracked, yellowed, or moldy caulk can make an otherwise clean bathroom or kitchen look dirty and neglected. Fresh caulk improves the appearance of fixtures and adds a polished finish to the room.
3. Ensure Proper Adhesion of New Caulk
New caulk won’t adhere well to old, damaged caulk. Removing the old material creates a clean surface, allowing the new caulk to form a proper bond and last longer.
4. Energy Efficiency
In areas like windows and doors, old caulk can allow drafts, leading to higher heating and cooling costs. Removing and replacing it with fresh caulk can improve your home’s energy efficiency by sealing out air leaks.
Tools and Materials Needed
Before you begin removing old caulk, gather the necessary tools and materials. Having everything on hand will make the process smoother and more efficient.
Tools:
- Caulk removal tool or utility knife
- Plastic putty knife or scraper
- Razor blade or caulk softening tool
- Caulk gun (for later application of new caulk)
- Shop vacuum (for cleaning)
- Safety gloves
- Protective eyewear
Materials:
- Caulk remover solution (optional, for hard-to-remove caulk)
- Rubbing alcohol or white vinegar (for cleaning surfaces)
- Painter’s tape (to protect adjacent areas)
- Microfiber cloth or rags
- Replacement caulk (silicone or latex, depending on the application)
- Sealant finishing tool (for smoothing the new caulk)
Step-by-Step Guide: How to Remove Old Caulk
Once you’ve gathered your tools and materials, it’s time to start removing the old caulk. The following step-by-step process will guide you through this task.
Step 1: Prepare the Area
Before starting the removal process, it’s important to prepare the workspace.
- Clean the area around the old caulk to remove any dirt, soap scum, or mildew. This will make the removal process easier and prevent debris from interfering with the new caulk.
- Protect adjacent surfaces by applying painter’s tape along the edges of the areas where you’ll be working. This will help avoid damage to tiles, countertops, or other surfaces.
- Wear protective gloves and eyewear to safeguard against potential cuts or irritants, especially when using sharp tools.
Step 2: Soften the Old Caulk
While not always necessary, softening old caulk can make it easier to remove, particularly if it has hardened over time.
- Use a caulk remover solution. Apply it to the old caulk according to the manufacturer’s instructions. Most caulk remover products need to sit for 10-15 minutes to effectively soften the caulk.
- Alternatively, use heat. You can use a hairdryer or heat gun to gently warm the caulk, which will make it more pliable and easier to scrape off. Hold the heat source a few inches away from the caulk and move it in a back-and-forth motion to avoid overheating or damaging surrounding areas.
Step 3: Cut and Scrape Away the Old Caulk
Once the caulk has softened, it’s time to remove it. This step requires patience and care to avoid damaging the surfaces underneath.
- Use a caulk removal tool or a utility knife to cut into the caulk. Place the tool at one end of the caulk seam and angle it to get beneath the caulk’s edge. Carefully drag the tool along the seam to loosen the caulk.
- If using a utility knife, be cautious not to press too hard, as you may accidentally cut into the surface beneath the caulk, especially around delicate tiles or grout.
- Scrape away the loosened caulk using a plastic putty knife or a scraper. Avoid using metal tools on delicate surfaces, as they can cause scratches.
- Use a razor blade or caulk softening tool for tight areas or stubborn caulk that won’t easily come off. Gently glide the blade along the edge of the caulk to lift it without damaging the surface.
- Pull the caulk away in strips. Ideally, the caulk will come off in long strips as you cut and scrape. For any small fragments or stubborn areas, use the putty knife or razor blade to carefully remove them.
Step 4: Clean the Surface
After removing the old caulk, you’ll need to thoroughly clean the surface to remove any residue or debris. This ensures that the new caulk will adhere properly.
- Vacuum the area with a shop vacuum to remove loose bits of old caulk and dust. This step helps clear the surface of debris.
- Wipe the surface with rubbing alcohol or white vinegar on a microfiber cloth. This will remove any remaining adhesive or grime left behind by the old caulk. Make sure the surface is completely clean and free from any oils, soap scum, or residue.
- Allow the area to dry fully before proceeding. New caulk won’t adhere well to a damp surface.
Step 5: Inspect and Repair the Surface
Once the surface is clean, inspect it for any damage that might need repairing before you apply new caulk.
- Check for cracks or gaps in the surfaces around the caulked area. If the old caulk was sealing a joint between tiles or along a bathtub, make sure the underlying surface isn’t cracked or damaged.
- Repair any damage by filling cracks or gaps with an appropriate filler or patch compound. Let it dry completely before proceeding with the new caulk.
Step 6: Apply New Caulk
After removing the old caulk and preparing the surface, you’re ready to apply fresh caulk. Choose the right type of caulk for your project: silicone caulk is great for areas exposed to moisture, while latex caulk is easier to clean and paintable.
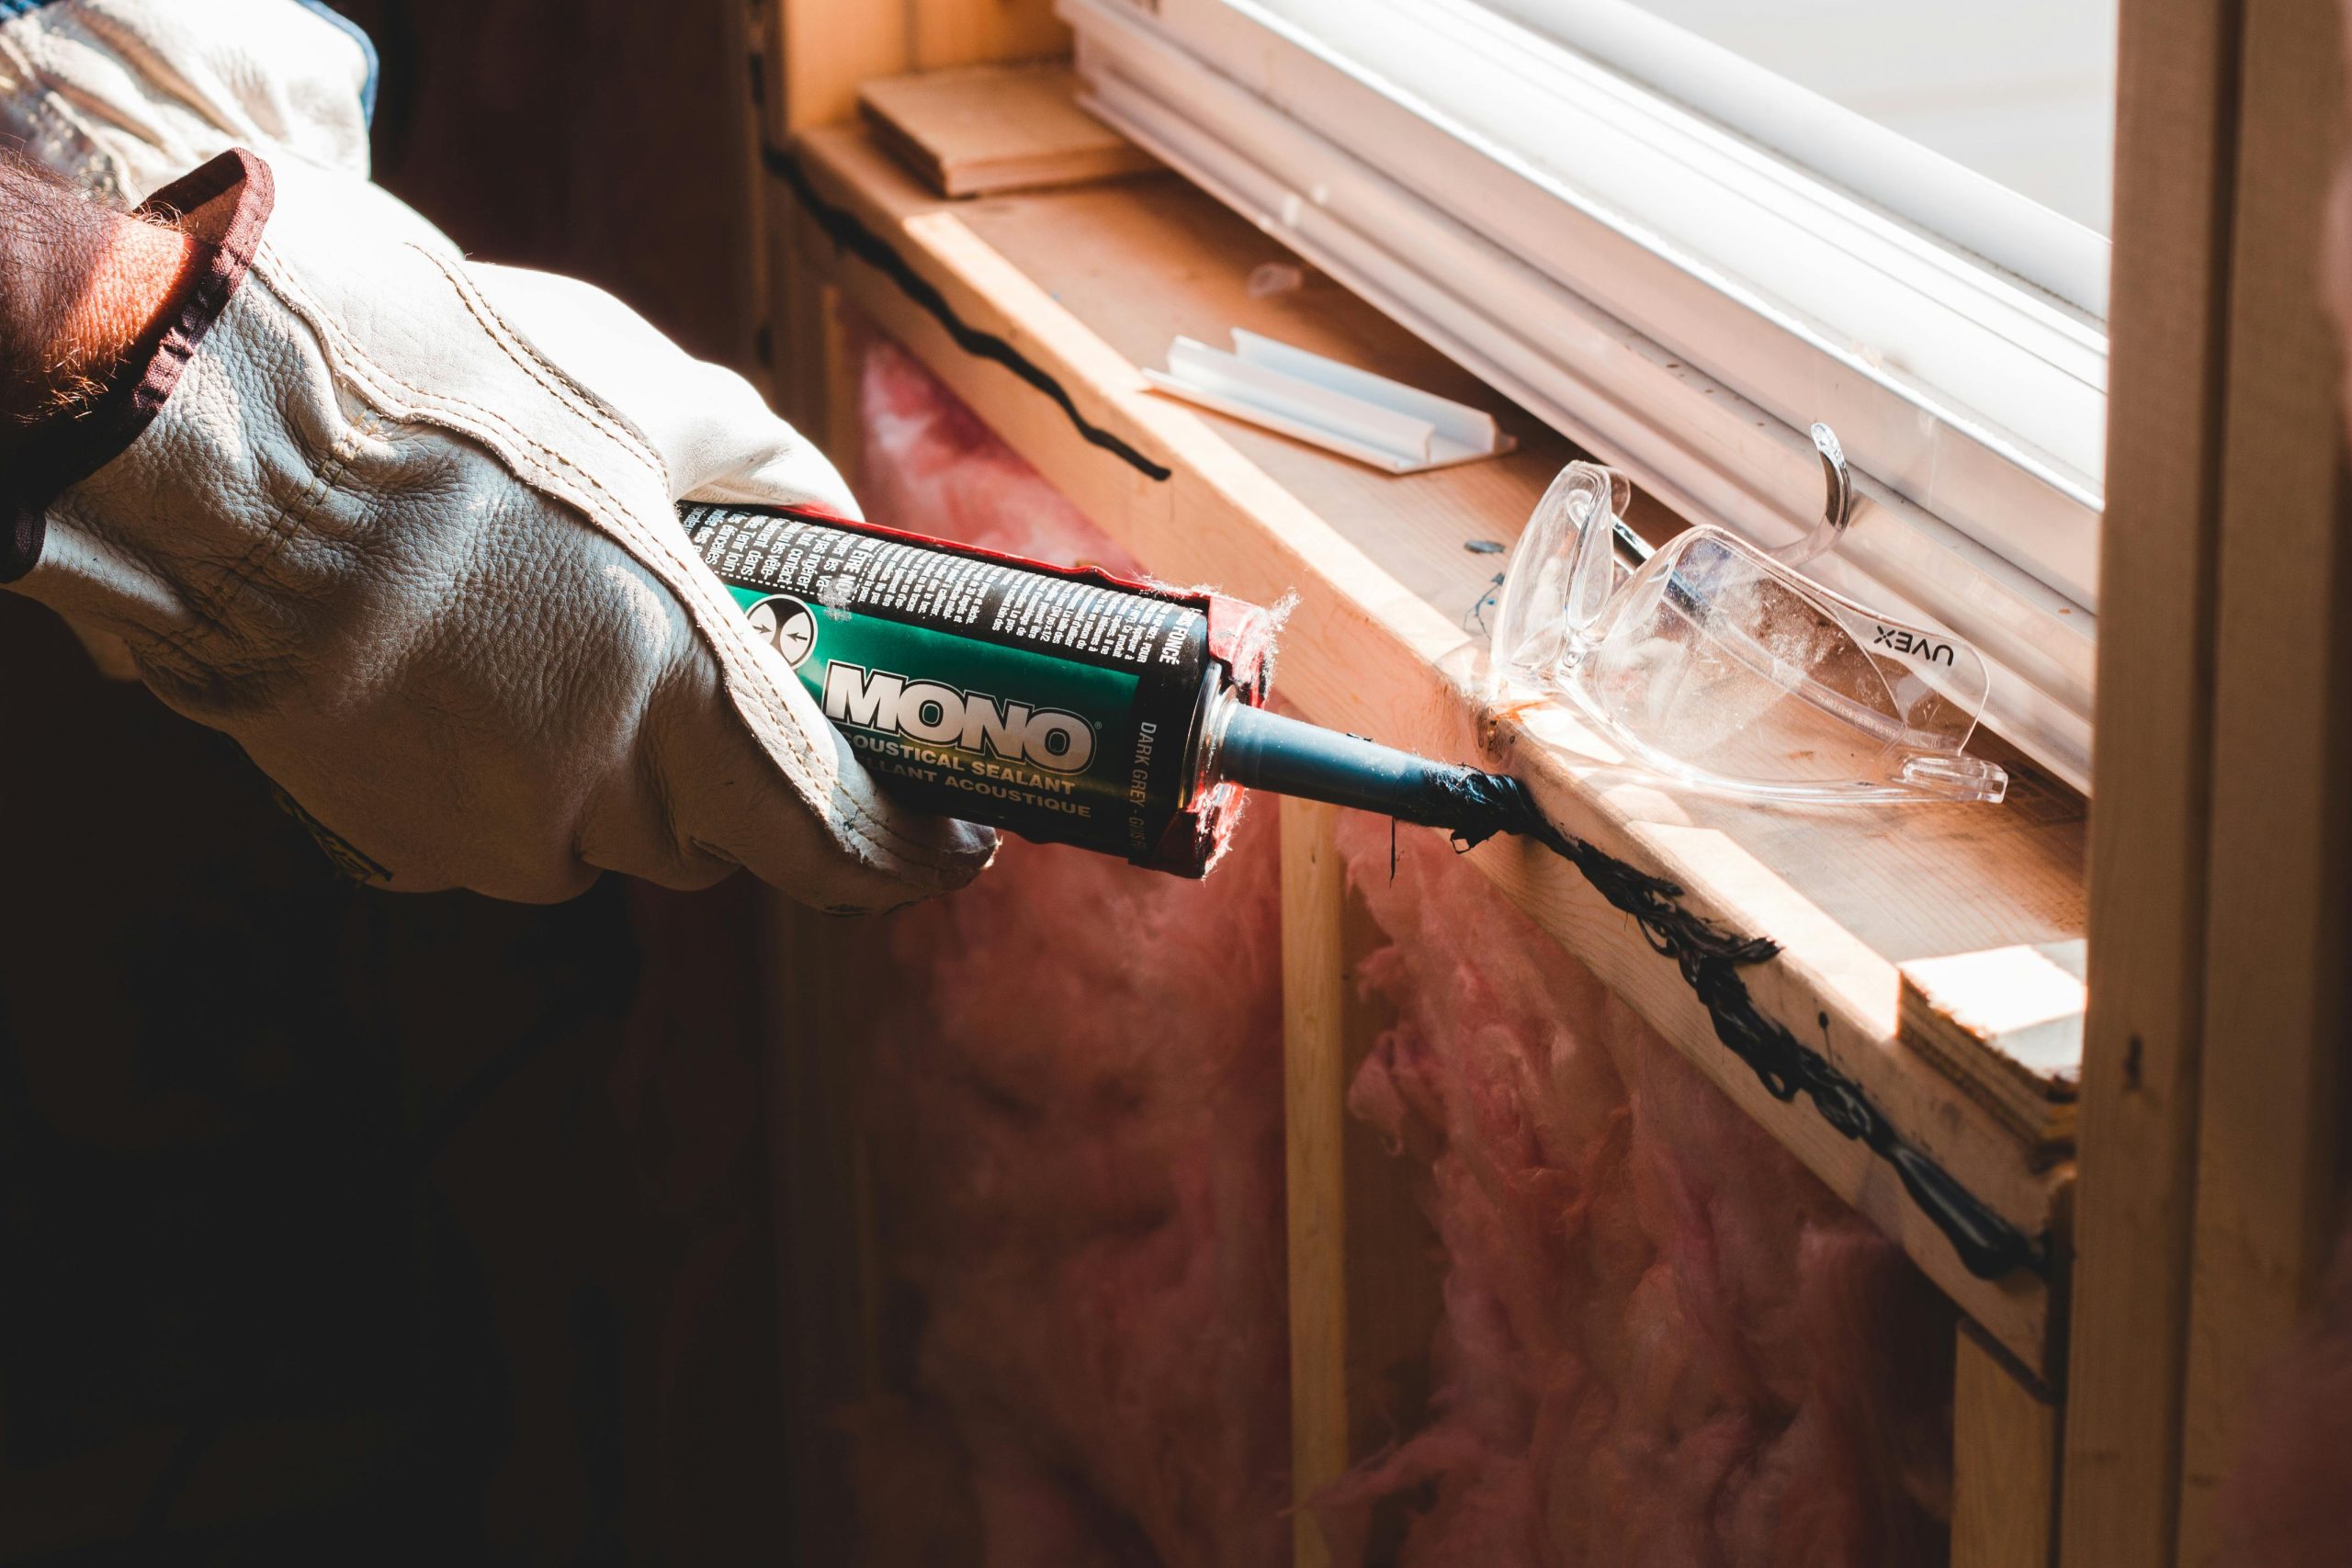
- Load the caulk gun. Cut the tip of the caulk tube at a 45-degree angle, making sure the opening matches the width of the seam you’re sealing. Insert the tube into the caulk gun.
- Apply a steady bead of caulk along the seam. Hold the gun at a consistent angle and squeeze the trigger as you move along the seam, applying an even bead of caulk.
- Smooth the caulk immediately after applying it, using a caulk finishing tool or your finger (dipped in water to prevent sticking). This step ensures the caulk adheres evenly and provides a neat finish.
- Let the caulk dry according to the manufacturer’s instructions, typically 24 hours, before exposing it to water or heavy use.
Step 7: Clean Up and Inspect
Once the caulk is applied and drying, take a moment to clean up the work area and ensure the job was done correctly.
- Remove painter’s tape while the caulk is still wet to avoid pulling away any of the newly applied caulk.
- Wipe down tools and any areas where excess caulk may have spread with a damp cloth before it dries.
- Inspect the caulk once it’s dry to make sure there are no gaps or missed spots. If necessary, apply an additional bead of caulk to any areas that need touch-ups.
Preventing Future Caulk Issues
Now that you’ve successfully removed the old caulk and applied new caulk, here are a few tips to help prevent future caulk issues:
1. Choose the Right Type of Caulk
Always select the appropriate caulk for the job. Silicone caulk is best for bathrooms and kitchens where moisture is an issue, while latex caulk works well in areas where easy clean-up and paintability are needed.
2. Maintain Proper Ventilation
In areas like bathrooms and kitchens, moisture buildup can cause caulk to deteriorate more quickly. Use exhaust fans to reduce humidity levels and keep the area dry.
3. Clean Caulk Regularly
Regular cleaning of caulked areas can help prevent mold and mildew buildup, which can cause caulk to degrade. Use a mild cleaner and avoid abrasive scrubbing.
4. Address Issues Early
If you notice any cracks, gaps, or peeling in your caulk, address them as soon as possible. Early repair can prevent more significant damage and the need for complete removal and replacement.
Conclusion
Removing old caulk is an essential maintenance task that helps ensure your home stays sealed, protected, and visually appealing. With the right tools and a bit of patience, you can efficiently remove old caulk and apply a fresh, long-lasting seal. Follow the steps in this guide, and you’ll be well on your way to achieving professional-quality results.